Overview
Booktics Zoho integration sends each booking’s customer contact to Zoho through a webhook, so the booker can be added straight into Zoho CRM as a lead or contact. It uses Zoho Flow as the bridge: Booktics posts the booking data to a Zoho Flow webhook, and Zoho Flow creates the record in Zoho CRM. It is useful for any site owner who wants new bookings to land in their sales pipeline automatically.
| Note: Booktics connects to Zoho through Zoho Flow, not directly to Zoho CRM. Zoho Flow gives you the webhook URL and creates the CRM record. No API keys or OAuth setup are needed on the Booktics side. |
Step 1: Create a webhook URL in Zoho Flow
Create the trigger that receives Booktics data.
- Log in to Zoho Flow and open My Flows.
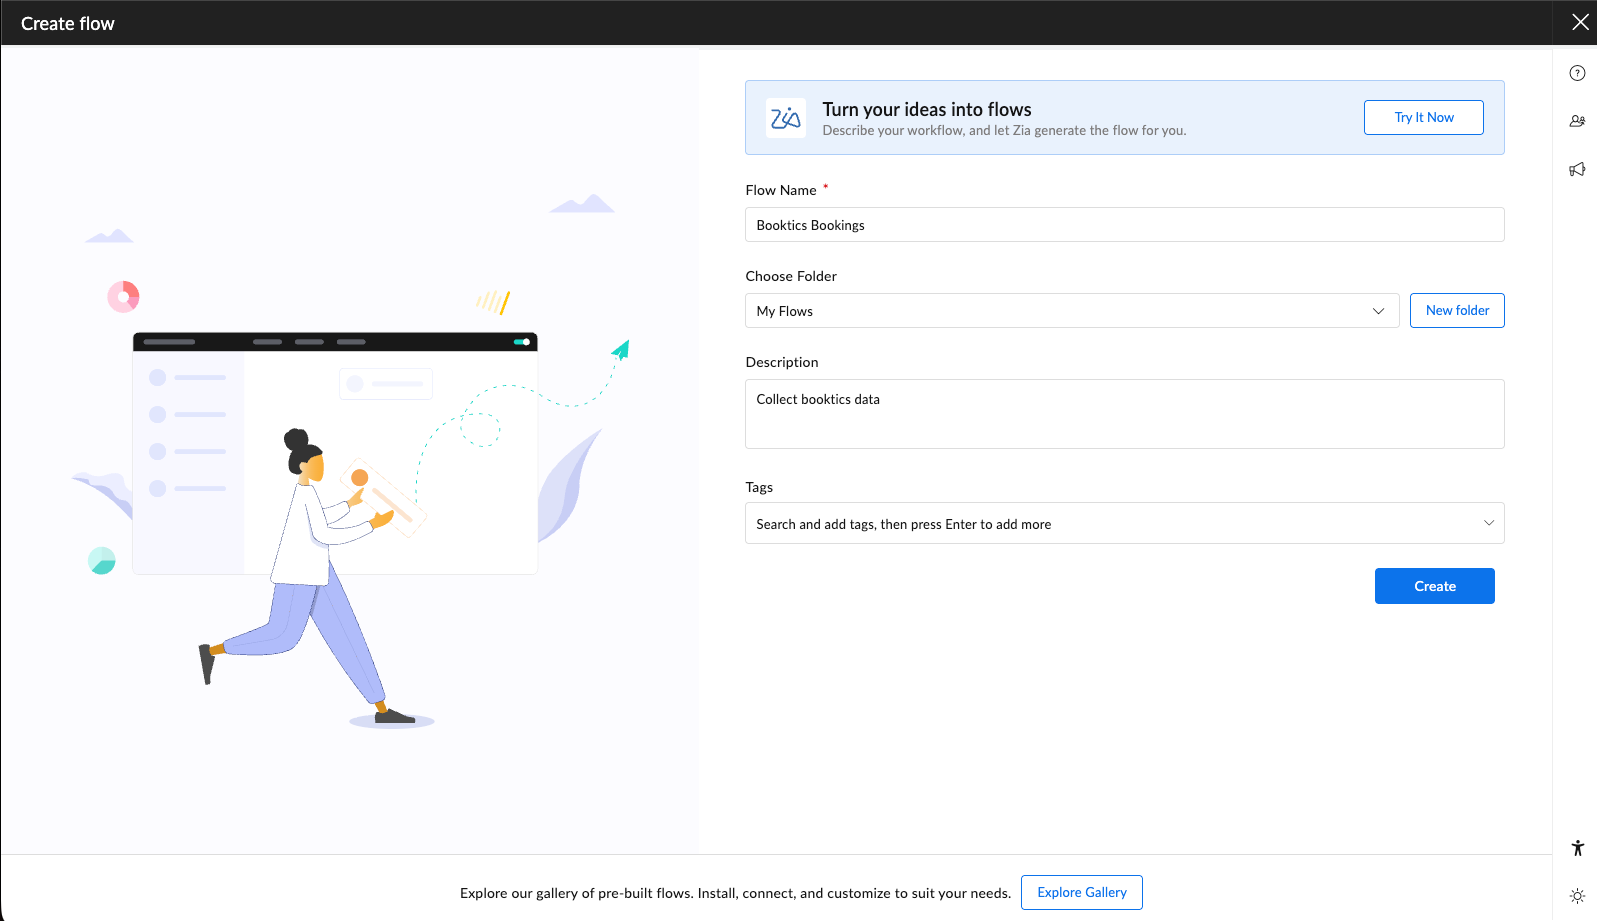
- Click Create Flow, give it a name (for example Booktics Bookings), and click Create.
- On the trigger screen, click Configure under Webhook.
- Set the payload format to JSON. (Booktics sends JSON.)
- Zoho Flow generates a unique Webhook URL. Click Copy.
Leave the flow open on the test step so you can confirm the connection later.


Step 2: Connect the webhook in Booktics
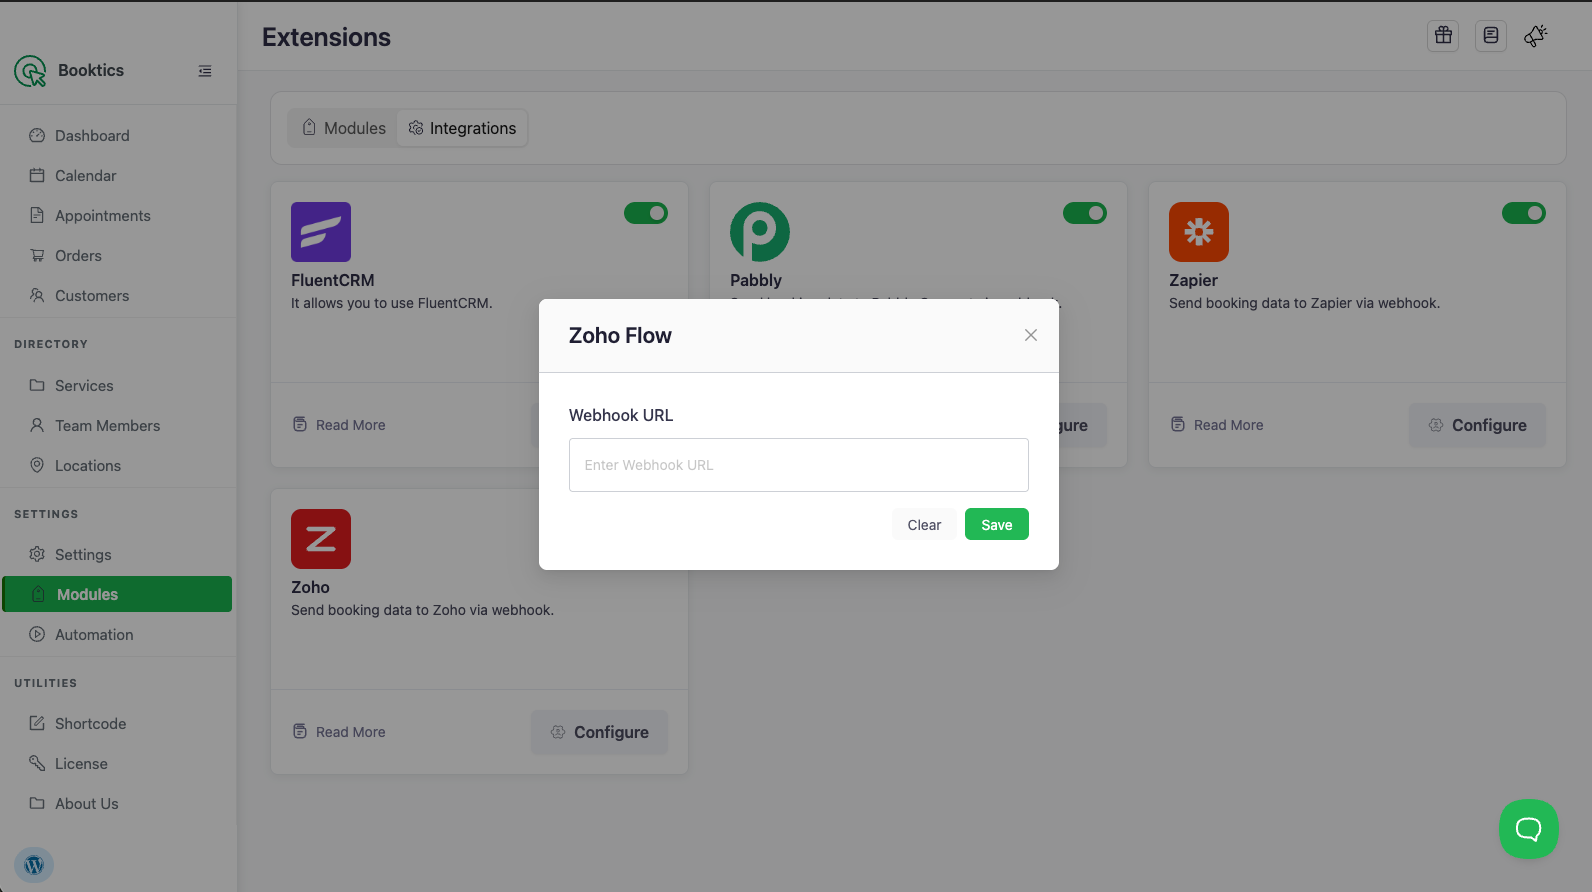
- In WordPress admin, go to Booktics → Modules and open the Integrations tab.
- Find the Zoho card and toggle it On.
- Click Configure on the Zoho card.
- Paste the webhook URL you copied from Zoho Flow into the Webhook URL field.
- Click Save.
Booktics now POSTs customer data to Zoho Flow on every new booking.
Step 3: Map the data to Zoho CRM
Booktics sends this JSON payload to Zoho Flow on each new booking:
| Field | Description |
email | Customer email address |
first_name | Customer first name |
last_name | Customer last name (if provided) |
status | Always subscribed |
Step 4: Test the connection
- Create a test booking on your Booktics booking page.
- Return to Zoho Flow — the Webhook step shows the received data (email, first name, last name, status).
- Switch the flow On, then check Zoho CRM → Leads for the new record.

Frequently Asked Questions (FAQ)
| Q1: Does Booktics connect directly to Zoho CRM? No. Booktics sends booking data to a Zoho Flow webhook, and Zoho Flow creates the Lead or Contact in Zoho CRM. This is why no API key or OAuth login is required in Booktics. |
| Q2: Can I create a Contact instead of a Lead? Yes. In the Zoho Flow action step, choose Create/Update Contact (or any Zoho CRM module) instead of Create Lead and map the same fields. |
| Q3: How do I stop sending data to Zoho? Toggle the Zoho integration Off in the Integrations tab, or clear the webhook URL in Configure. Either stops all requests. |
Conclusion
Connect Zoho once through Zoho Flow and every Booktics booking lands in your Zoho CRM as a lead automatically.