Overview
Booktics Zapier integration sends each booking’s customer contact to Zapier through a webhook, so you can route that data into 7,000+ apps with no code. It is useful for any site owner who wants new bookings to auto-flow into a CRM, email list, spreadsheet, or team chat.
Step 1: Create a webhook URL in Zapier
Create the trigger that receives Booktics data.
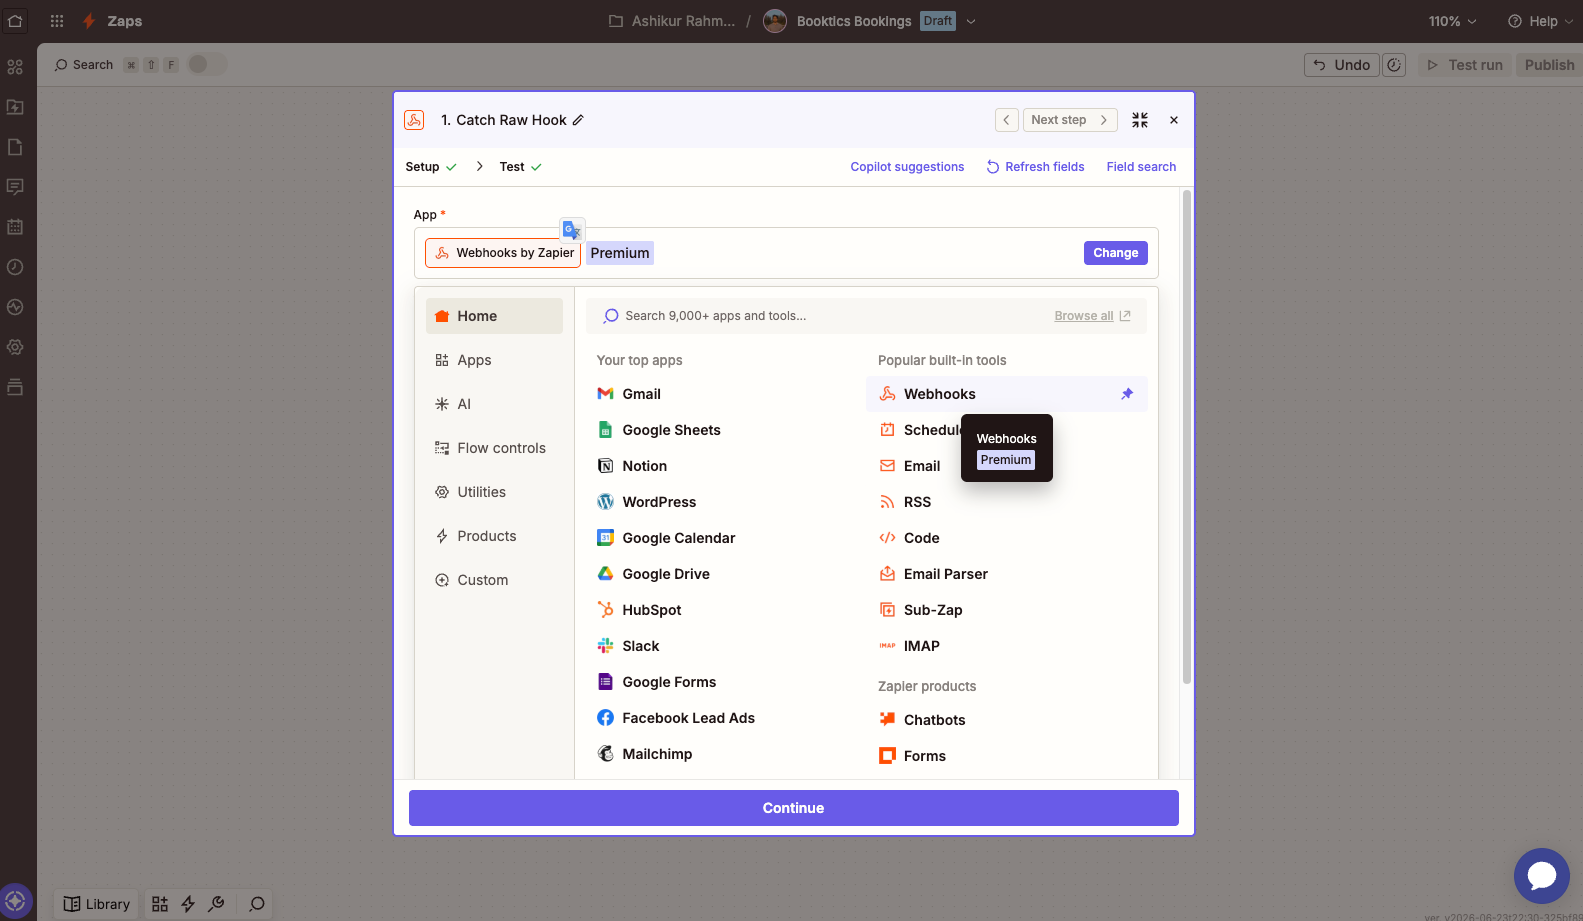
- Log in to Zapier and click Create → Zaps (or Create Zap).
- Click the Trigger step and search for Webhooks by Zapier. (Webhooks is a built-in premium app.)
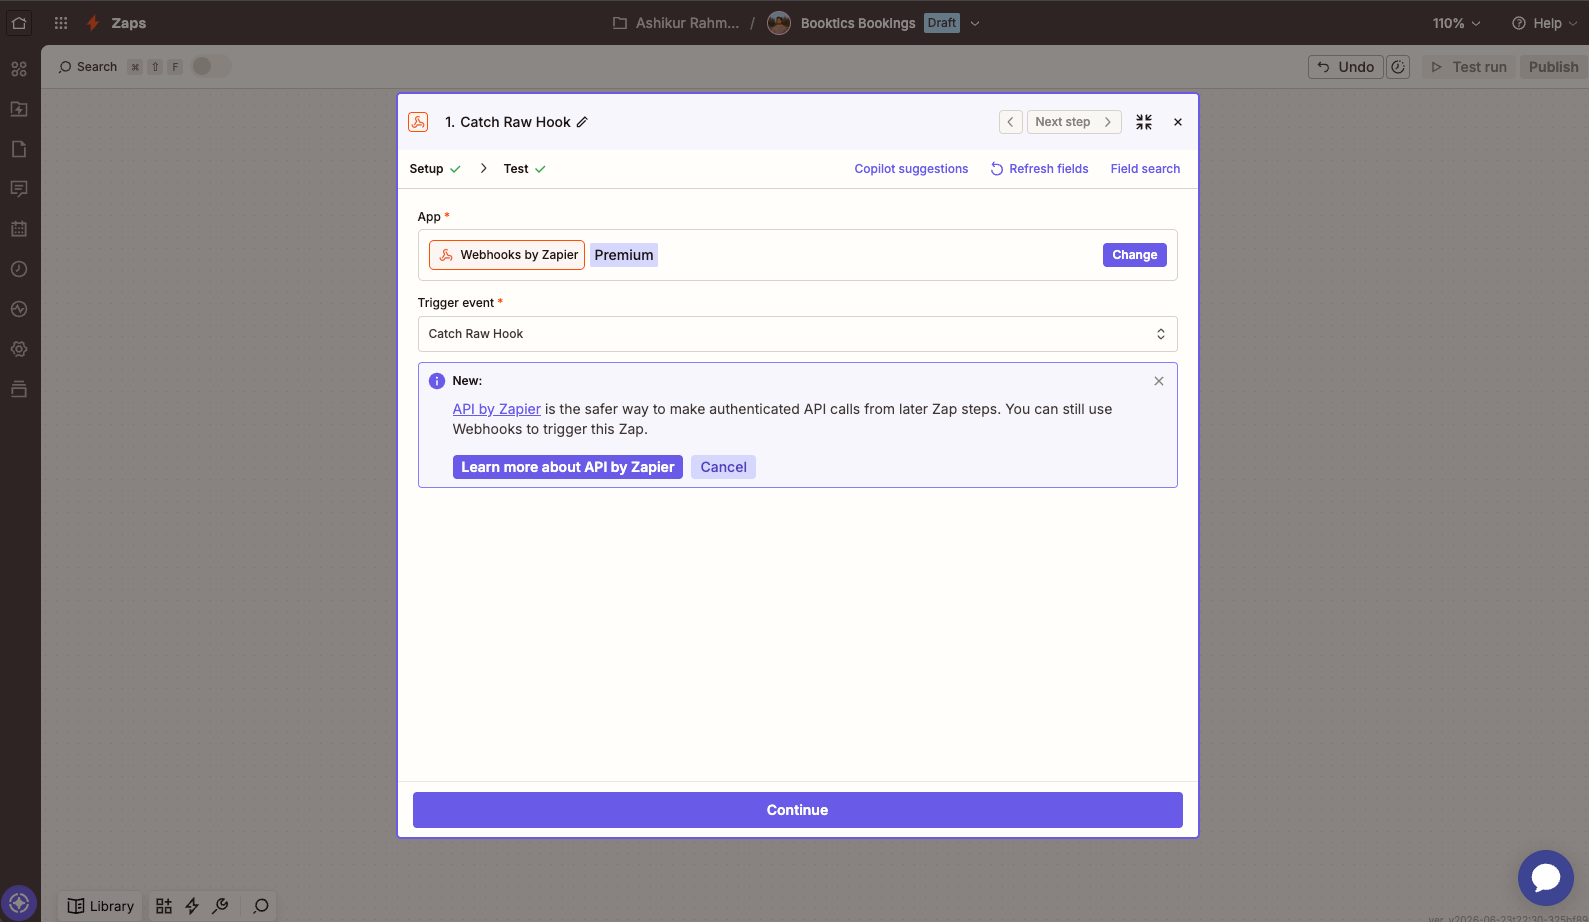
- Choose the event Catch Hook, then click Continue. (Catch Hook parses the JSON body, which is what Booktics sends.)
- Skip the optional “Pick off a Child Key” field and click Continue.
- In the Test tab, Zapier shows your unique Webhook URL (format:
https://hooks.zapier.com/hooks/catch/XXXXX/YYYYY/). Click Copy.
Leave the Zap open on the test step so you can confirm the connection later.
Step 2: Connect the webhook in Booktics
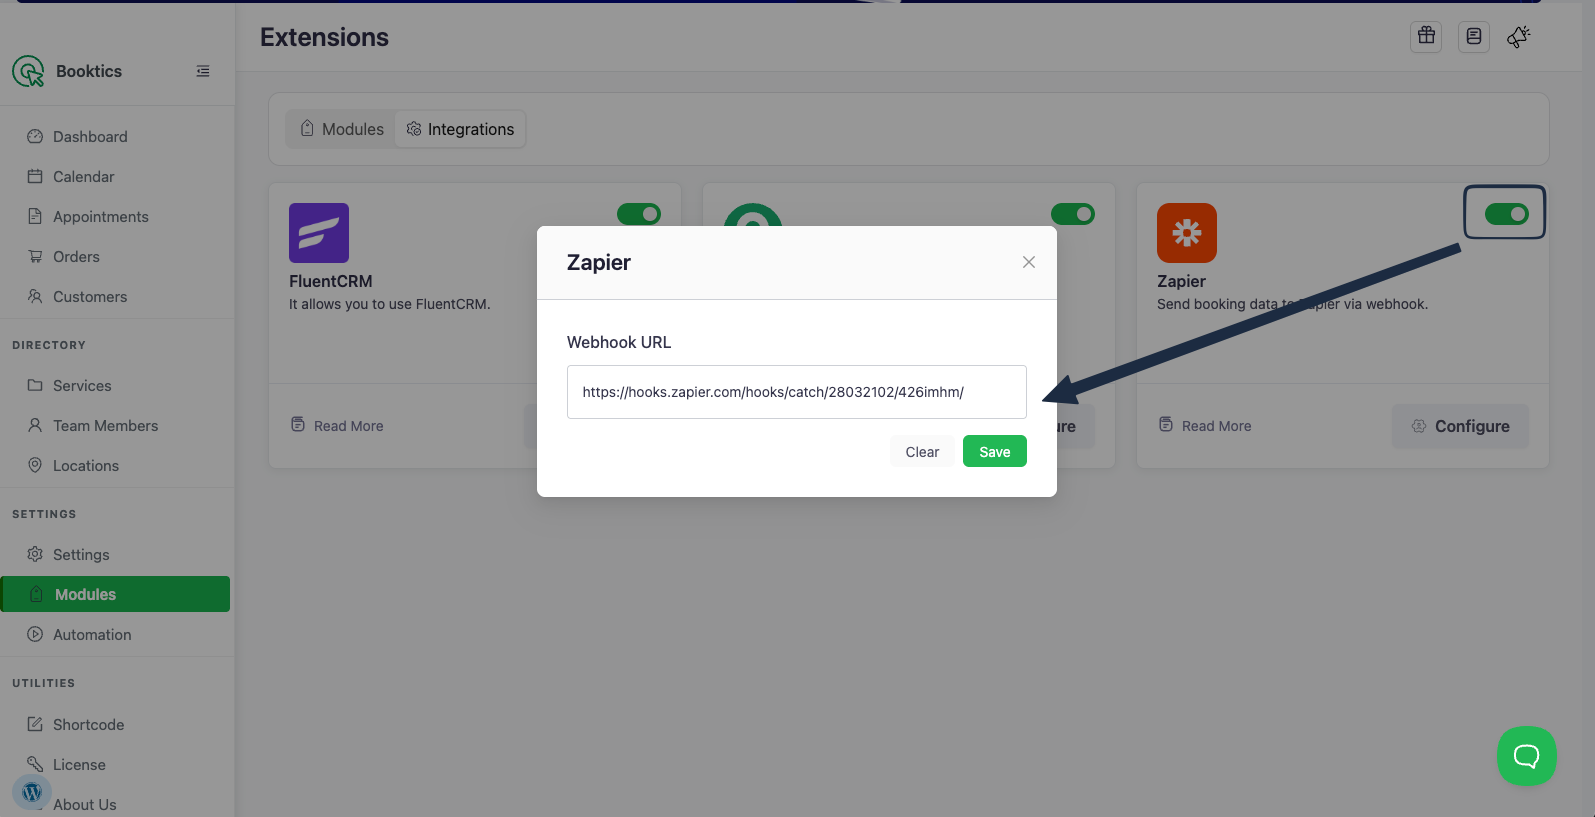
- In WordPress admin, go to Booktics → Modules and open the Integrations tab.
- Find the Zapier card and toggle it On.
- Click Configure on the Zapier card.
- Paste the webhook URL into the Webhook URL field.
- Click Save.
Booktics now POSTs customer data to that URL on every new booking.
Step 3: Confirm what data is sent
On each new booking Booktics sends a JSON payload with the customer contact:
| Field | Description |
email | Customer email address |
first_name | Customer first name |
last_name | Customer last name (if provided) |
status | Always subscribed |
Step 4: Test the connection
- Create a test booking on your Booktics booking page.
- Return to your Zap and click Test trigger. Zapier displays the received record (email, first name, last name, status).
- Click Continue, then add your Action step(s) — CRM, email, sheet, etc. — and Publish the Zap.
| Note: Test finds no request? Confirm the Zapier toggle is On in the Integrations tab and the webhook URL was pasted with no extra spaces. |
Frequently Asked Questions (FAQ)
| Q1: Do I need a paid Zapier plan to use webhooks? Webhooks by Zapier is a premium built-in app, so a paid Zapier plan is required to use the Catch Hook trigger. The Booktics side has no extra cost. |
| Q2: My Zap test shows no request — why? Make sure the Zapier integration is toggled On in the Integrations tab and the webhook URL was pasted exactly with no trailing spaces. Then create a fresh booking and click Test trigger again. |
| Q3: How do I stop sending data to Zapier? Toggle the Zapier integration Off in the Integrations tab, or clear the webhook URL in Configure. Either stops all requests. |
Conclusion
Connect Zapier once and every Booktics booking flows automatically into the 7,000+ apps Zapier supports.