Why Use One-on-One Meetings?
One-on-One meetings are designed for private, personalized interactions involving a single host and a single participant. These are ideal for:
- Personal consultations
- Private coaching or mentoring sessions
- Customer support calls
- Any service that requires focused, one-to-one communication
They help foster deeper engagement and allow you to give full attention to the attendee, making the experience more effective and meaningful.
Steps to Create a One-on-One Meeting
To set up a One-on-One meeting in Timetics, follow these steps:
Step-1:
- Go to
Timetics → Meetingsfrom your WordPress Dashboard. - Click on the Create New button.
- Select the One-on-One meeting type.

You’ll be redirected to a dedicated meeting creation page.
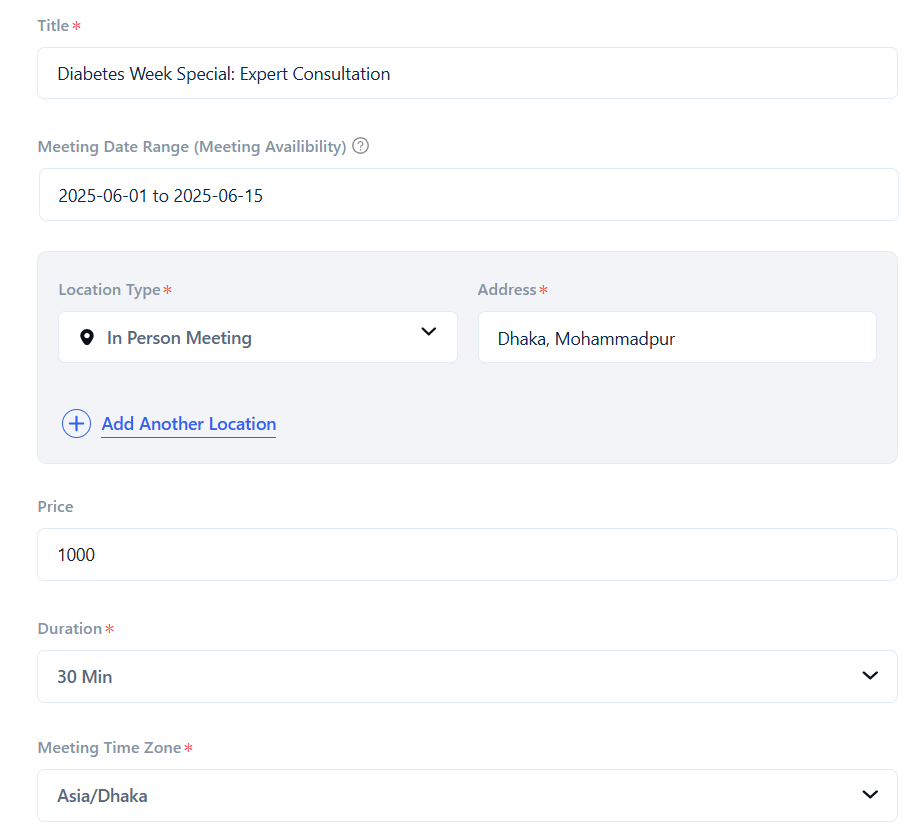
Add One-on-One Meeting Details
- Choose a title that clearly defines the purpose of the meeting.
- Specify the time frame during which the meeting can be booked, such as “June 1 – June 15.”
- Select the location type for your meeting: virtual options like Zoom or Google Meet, or a physical location if in-person.
- If you selected a physical meeting location, provide the complete address where the meeting will take place.
- Decide the cost of the meeting. If the meeting is free, set the price to 0.
- Set the duration for the meeting, such as 30 minutes, 1 hour, etc., to help clients choose the right time slot.
- Choose the time zone that aligns with your location to avoid any confusion with meeting times.
- Select the team member who will be responsible for hosting the meeting. Only the assigned team member will be available for that meeting.
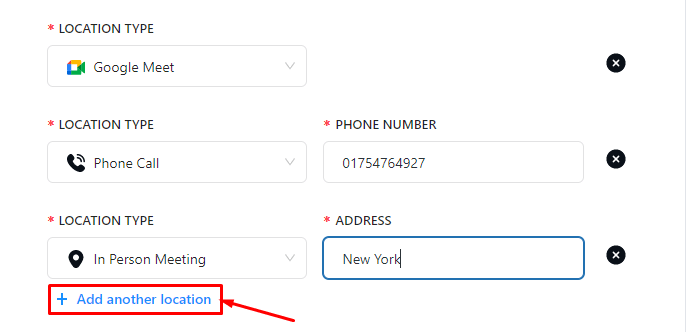
Meeting Location Type
You will get 4 mediums for meeting with your client. Google Meet, Zoom, Phone Calls, and In-Person Meetings.

You can use multiple meeting mediums if you want. For that, you have to click on the “+Add Another Location” button. Then you will be able to place your mobile number and meeting address.
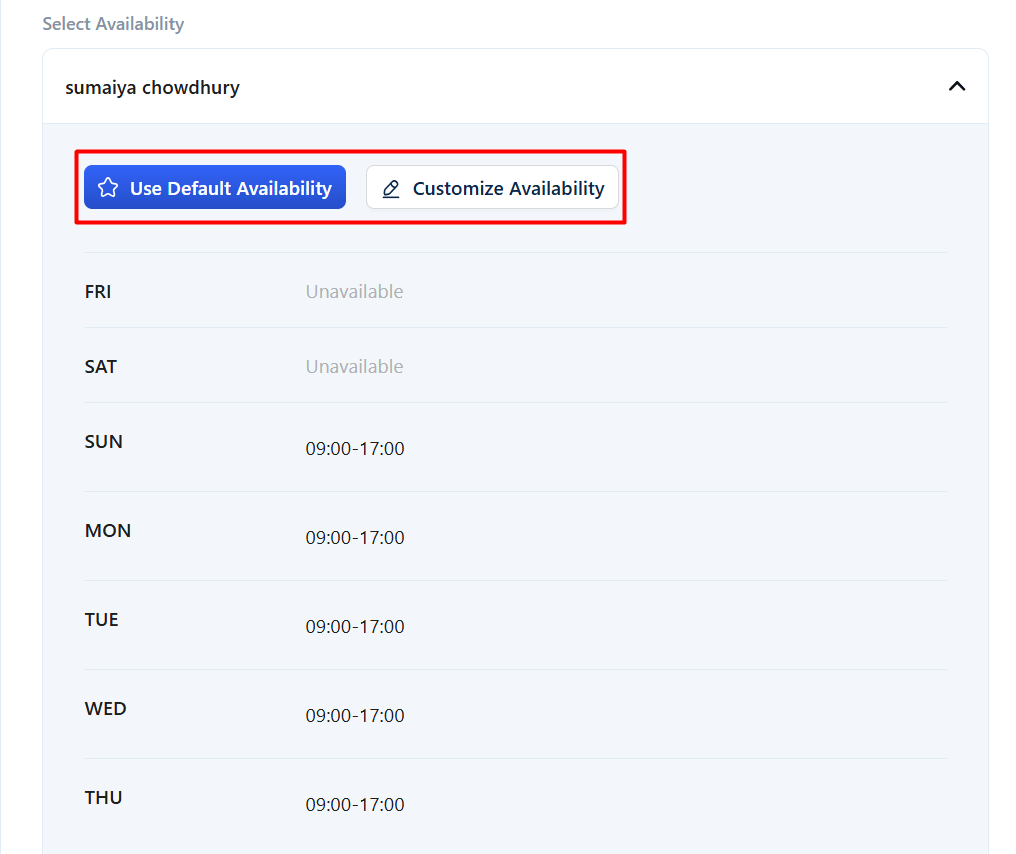
Select availability
When you choose a team member, their available time slots will be displayed. You can also customize these time slots if needed to adjust the schedule based on availability.
Step-2:
After entering all the data, click on the “Create Meeting” button. You will then be redirected to the basic information page, where you can add the meeting category and description.
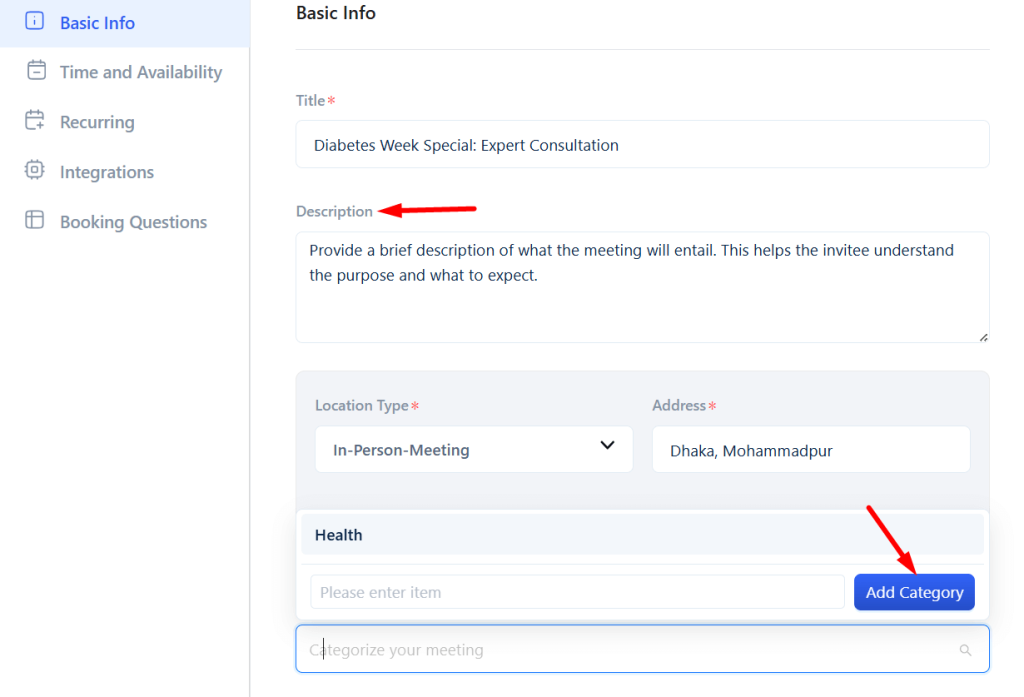
Step-3:
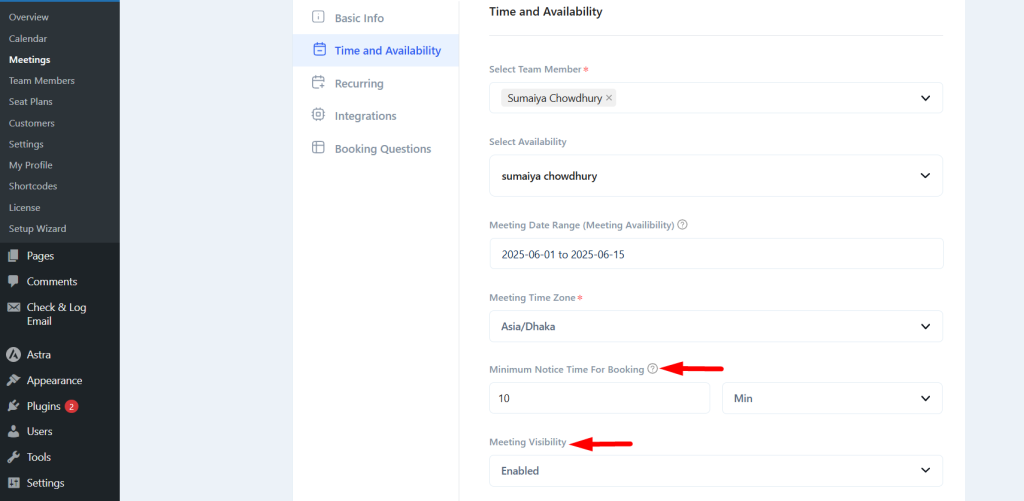
After the basic information step, you can select the team availability. Here, you can edit the schedule and set the Minimum Notice Time for Booking and Meeting Visibility.
Step-4:
If you want to enable recurring bookings, go to the Recurring tab and turn on the Recurring Meeting option.
For more details, please follow the documentation.

Step-5:
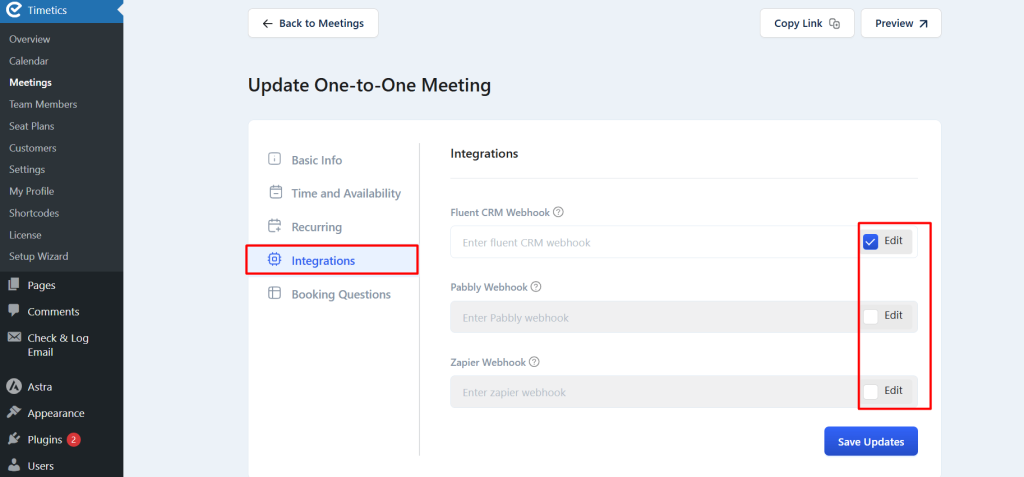
If you want to integrate your meeting with Pabbly, Zapier, or FluentCRM, go to the Integration tab and configure according to the documentation.
Step-6:
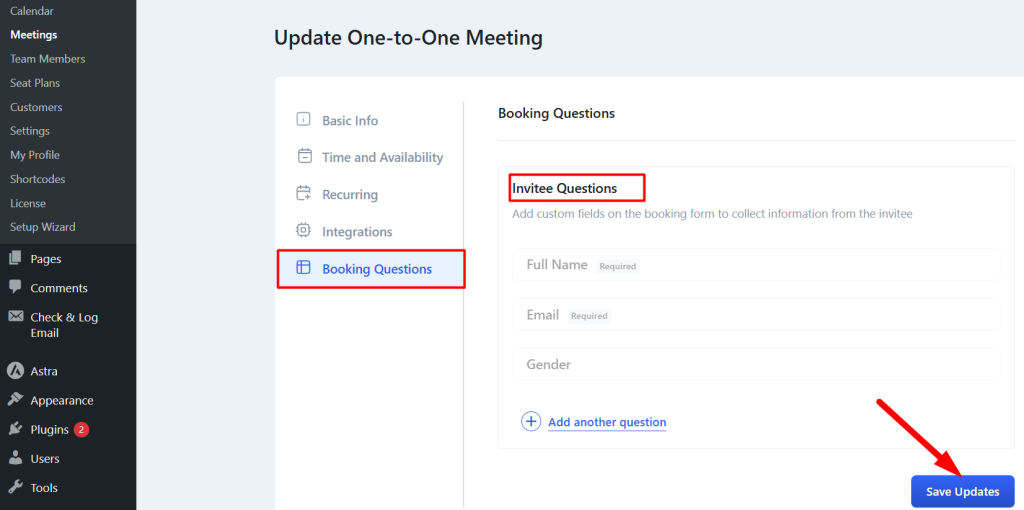
You can also add custom fields for your meeting booking. More details, check the documentation.
After that, click Save Updates — your meeting will be created successfully.
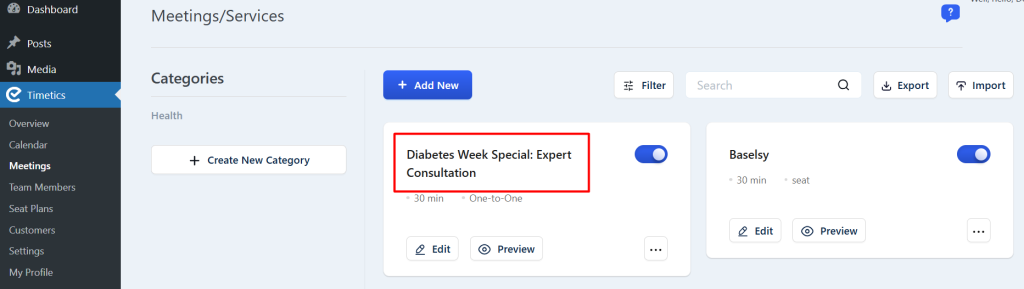
Meetings list: