Custom fields in the Timetics booking form let you collect extra information from users when they schedule a meeting. This is helpful if you want to gather preferences, questions, or any other input before the meeting takes place.
You can add custom fields globally for all meetings or assign them individually to specific meetings based on your needs.
Global Settings
To add custom fields, go to Timetics → Settings → Booking Questions, then you will see the Invitee Questions tab. The Name and Email fields are already added by default and are required.
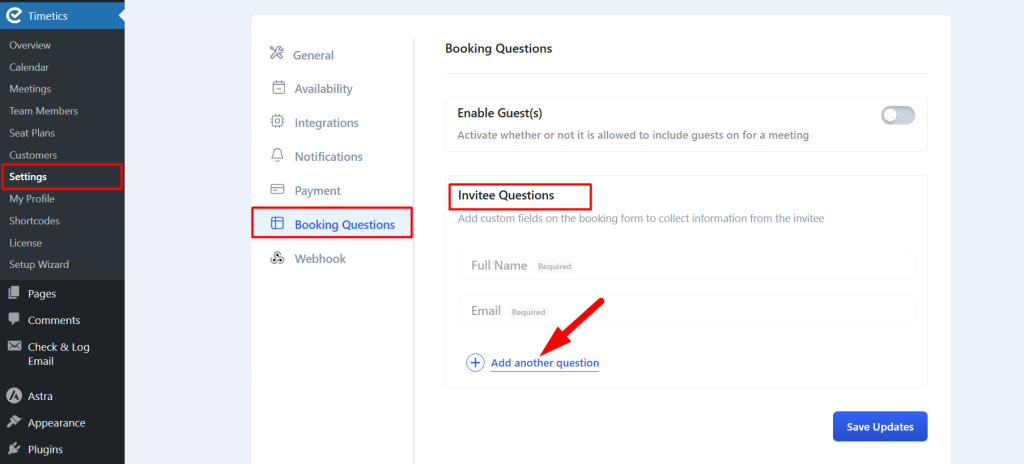
To add more fields, click on the “Ask Another Question” button. A popup form will appear where you can enter the label (the question or field title), select the field type, and optionally add additional text to guide the user. You can also mark the field as required if needed.
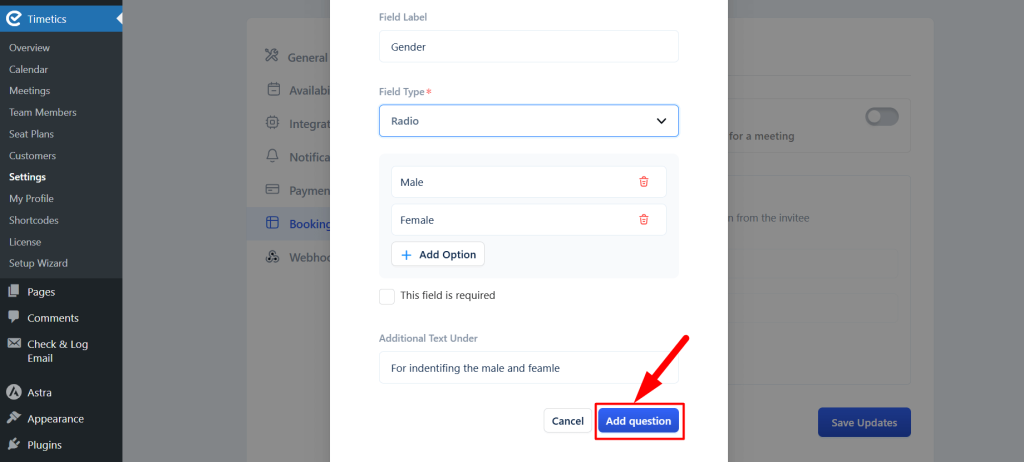
Timetics offers 5 types of input fields:
- One Line Text – For short answers
- Paragraph – For longer responses
- Dropdown – For single choice from a list
- Checkbox – For selecting multiple options
- Radio Button – For selecting one option from a group
Once you’ve entered your details, click on the “Add Question” button. Don’t forget to click on “Save Updates” button after adding fields. You can add multiple custom questions this way, and they will appear on the booking form for invitees to fill out.
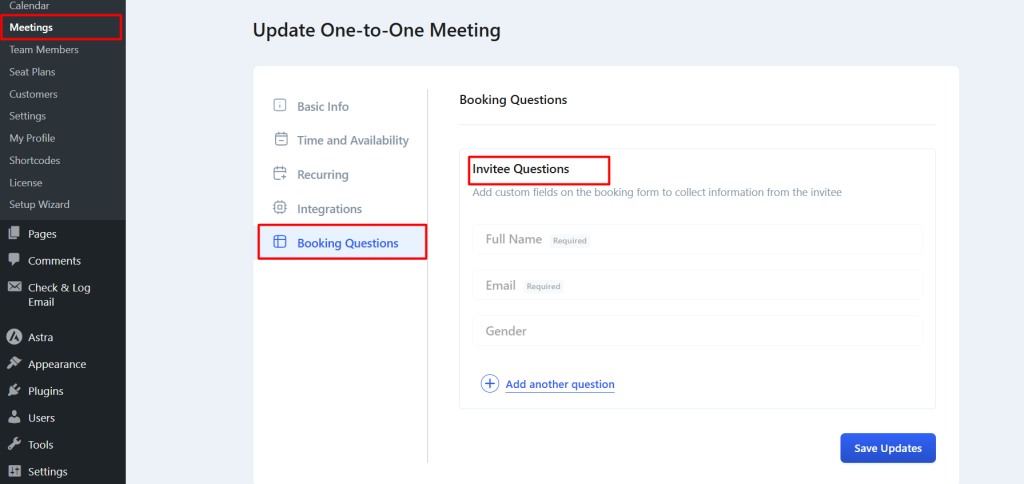
Individual Setings
If you want to set custom fields for a specific meeting, go to Timetics → Meetings, edit your desired meeting, and scroll to the Invitee Questions section. There, you can add fields in the same way as the global settings — using the “Ask Another Question” button and filling in the required details.
Frontend view:
