Welcome to Booktics — your smart appointment and scheduling plugin. To help you get started smoothly, we’ve designed a quick onboarding process. This guide will walk you through each step so you can set up your business profile and start offering services in just a few minutes.
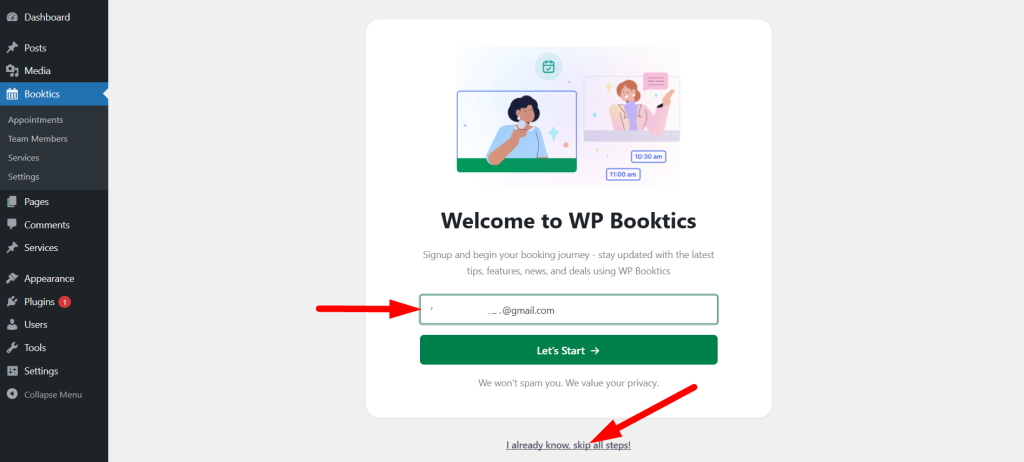
After activating the Booktics plugin, the onboarding screen will automatically appear. The first step is to insert the user’s email address. This is required to identify the account and enable syncing features. If the user has already completed the onboarding previously, they will be given the option to skip this step and go directly to the dashboard.
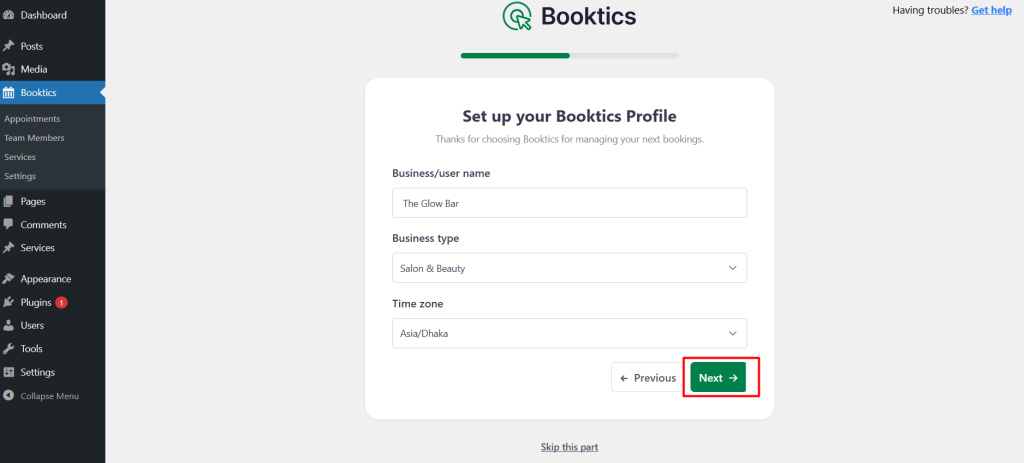
Next, the user will be prompted to complete their business profile by entering their business name, selecting the business type, and setting the timezone. After filling out these details, they can click the Next button to continue.
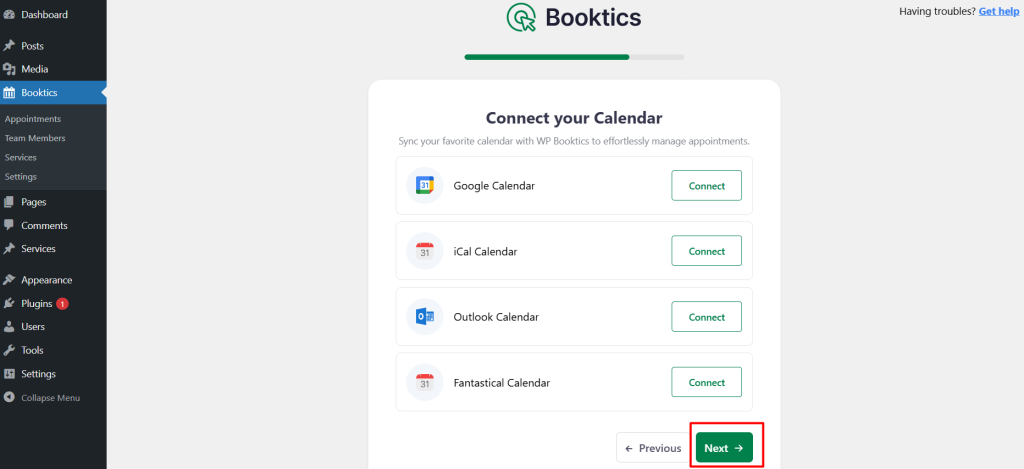
The following step allows the user to connect their preferred calendar. Booktics supports Google Calendar, Outlook Calendar, iCal, and Fantastical Calendar. Connecting a calendar helps ensure that all bookings are synced with the user’s actual availability.
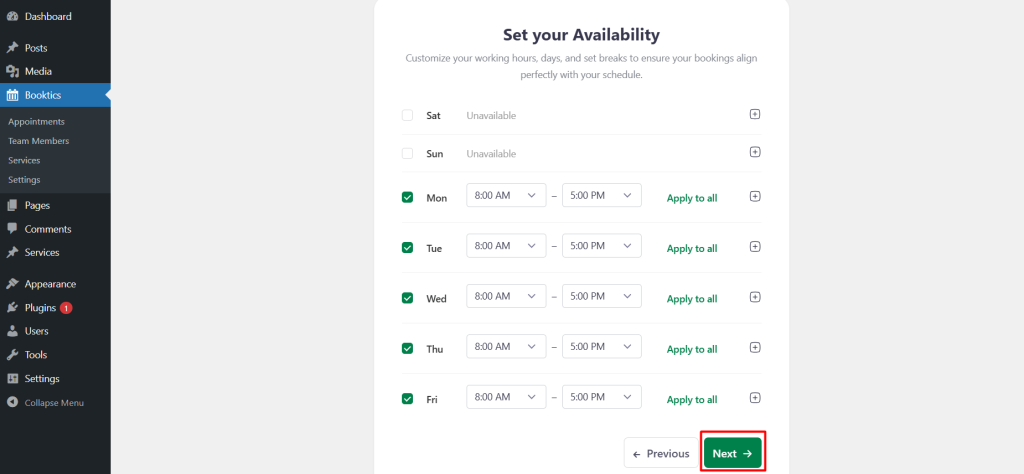
After the calendar is connected, clicking Next takes the user to the availability settings, where they can configure their working days and business hours. Once this is saved, the business profile is created, and the user can begin setting up their services.
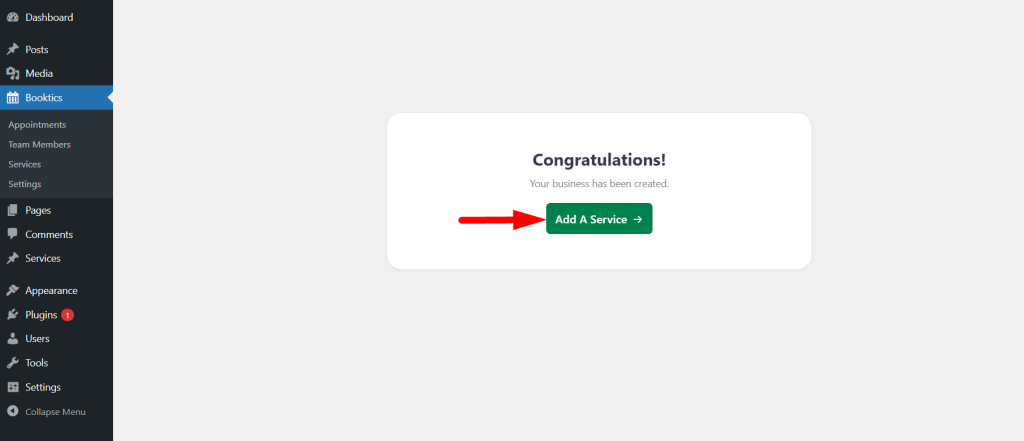
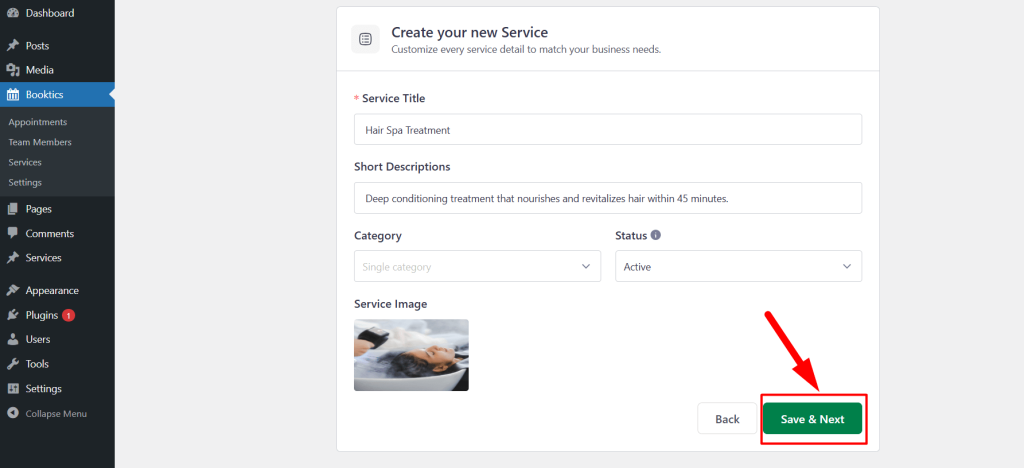
The user can now add services by entering a service title, writing a short description, uploading a service image, selecting or creating a category, and setting the status to active so the service appears on the booking page.
This completes the onboarding process in Booktics — designed to get users set up quickly and ready to take appointments within minutes.